How to Prevent Candles from Dripping?
Posted by Marketing on Tue, Feb 10, 26
Nothing ruins a relaxing evening or a beautiful dinner party quite like watching a stream of hot wax ruin your favorite tablecloth or stick to your expensive wooden furniture. For many people in the United States, dripping wax is a constant frustration that makes them hesitate to light their favorite candles. The problem is that most people think dripping is just something candles do naturally, but it is actually a sign that the candle is burning incorrectly. Whether it is a draft in the room, a wick that has grown too long, or simply using a low-quality wax, there is always a reason for the mess. The good news is that you can stop the wax waterfall before it starts by following a few simple steps. At Camp Hollow, we believe that your home should be filled with light and warmth without the stress of a cleanup, and that starts with choosing the right materials and knowing how to handle them.
The Science of the Drip: Why It Happens in the First Place
To stop a candle from dripping, you first have to understand the physics of how it works. A candle is essentially a small engine that turns solid wax into liquid fuel, which is then drawn up through the wick to keep the flame alive. This process is called capillary action. When everything is working perfectly, the heat of the flame creates a small, even cup of melted wax that stays contained within the solid outer walls of the candle. A drip happens when that wall fails or when the flame creates too much liquid fuel for the wick to consume. When the liquid overflows the solid edge, gravity takes over and creates a mess.
The Balance of Heat and Fuel
The relationship between the flame and the wax is a delicate balance. If the flame becomes too large or too hot, it melts the wax faster than it can burn it off. This excess liquid has nowhere to go but down the side of the candle. This is why high-quality wax is so important. Inexpensive waxes like paraffin are very oily and melt at a low temperature, which makes them much more likely to overflow. Beeswax, on the other hand, is much denser and holds its shape better under heat. This natural strength helps maintain the cup shape longer, keeping the liquid fuel exactly where it belongs.
The Wall Failure and Wax Waterfalls
When you look at a pillar or a taper candle, the outer rim of solid wax acts like a dam. If the flame leans too far to one side, it puts constant heat on just one part of that dam. Eventually, that spot gets too soft and collapses, creating a breach. Once the first drop of liquid wax escapes through that breach, it creates a trail that other drops will follow, leading to a massive wax waterfall. Preventing this requires keeping the flame centered and upright so that the heat is distributed evenly across the entire surface of the candle. Protecting your furniture starts with protecting your candle holders. Learn the best ways to remove residue without damaging your decor, including how to clean and care for ceramics.
Wax Density: Beeswax vs. Paraffin
The type of wax you choose is the biggest factor in whether your candle will stay clean. Most grocery store candles are made of paraffin, which has a melting point as low as 120°F. This means it turns into a runny liquid very quickly. Pure beeswax has a much higher melting point of around 145°F. This extra 25 degrees of heat resistance means the walls of a beeswax candle stay firm and solid even when the flame is burning bright. This is why beeswax is famous for being naturally dripless while paraffin often struggles to stay contained.
|
Wax Type |
Melting Point |
Viscosity (Runniness) |
Drip Risk |
|
Paraffin |
120°F - 130°F |
Very Thin/Runny |
High |
|
Soy Wax |
120°F - 135°F |
Medium/Soft |
Medium |
|
Pure Beeswax |
144°F - 147°F |
Thick/Dense |
Very Low |
Environmental Factors
Even the best beeswax candle will drip if it is sitting in a drafty spot. Air movement is the number one enemy of a clean burn. When a draft hits the flame, it causes it to flicker and dance. This flickering pushes the heat toward the edges of the candle instead of keeping it in the center. If you want to prevent dripping, you must find the still air zones in your house. Keep your candles away from open windows, ceiling fans, air conditioning vents, and even high-traffic doorways where people walking by can create a gust of wind.
Proximity Matters: The Heat Island Effect
Many people love to group several candles together to create a beautiful centerpiece, but this can actually cause them all to drip. When candles are placed too close to one another, they create a heat island. The heat from one flame warms up the side of the candle next to it, softening the wax walls before they are even lit. This leads to a total collapse of the wax structure. To keep things safe and mess-free, try to keep at least three to four inches of space between each candle. This allows cool air to circulate around each one, keeping the outer walls solid and strong.
Wick Maintenance: The Key to Melt Pool Control
The most common reason a candle starts to leak is a wick that has grown too long. When a wick is long, it creates a monster flame that is too large for the diameter of the candle. This oversized flame generates an immense amount of heat, which melts the wax at a rate much faster than the wick can draw it up. The result is a massive pool of liquid wax that eventually breaks through the outer walls. To prevent this, you should always trim your wick to exactly 1/4 inch before lighting. This small adjustment keeps the flame at a manageable size and ensures the heat stays concentrated in the center, away from the delicate outer edges.
Centering the Wick for an Even Melt
Sometimes, even a trimmed wick can cause a mess if it begins to lean to one side. A leaning wick directs all its heat toward one specific wall of the candle, causing it to thin out and eventually collapse. While the wax is still warm and liquid after a burn, you can use a small tool to gently nudge the wick back to the dead center. This ensures that the next time you light the candle, the heat is distributed perfectly in a circle. Keeping the wick centered is one of the easiest ways to maintain the structural integrity of your wax and avoid lopsided melting.
Trimming Technique: Keeping the Wax Pool Clean
It isn't just the length of the wick that matters, but also how you trim it. If you use dull scissors, you might accidentally pull on the wick or leave behind charred bits of cotton that fall into the wax pool. This debris acts as a secondary wick, creating tiny hotspots that can cause the main flame to flicker or the wax to melt unevenly. Using a dedicated wick trimmer or sharp snips allows for a clean cut. By keeping the wax pool free of ash and burnt wick pieces, you maintain a steady, predictable burn that stays within the boundaries of the candle. If you are tired of the "wax waterfall," explore our Beeswax Candle Collection. The high viscosity of our pure wax makes it the most drip-resistant choice available.
Advanced Techniques for Different Candle Shapes
Every candle has a memory, which is established during the very first hour it is lit. If you light a pillar candle and blow it out after only 20 minutes, the wax will only melt a small circle around the wick. This creates a tunnel that leaves a thick wall of wax on the outside. As the candle burns deeper into this tunnel, it becomes a heat trap, which eventually causes the outer walls to get too hot and melt down in a sudden, messy rush. For the first burn, always leave the candle lit until the liquid wax reaches nearly to the edge. This sets a flat, wide surface that prevents future leaks.
The Hugging Method: A Pro-Tip for Beeswax Pillars
Beeswax is a unique material because it becomes soft and pliable like warm clay before it actually melts. If you are burning a wide beeswax pillar, you can use a technique called hugging to prevent drips. As the center burns down, the outer edges will stay soft from the heat of the flame. You can use your hands to gently press or fold those warm edges inward toward the center. This keeps the wax contained and ensures that the outer walls don't get too tall or thin. Hugging your candle allows you to use 100% of the wax as fuel, leaving no mess behind.
Leveling Your Tapers: The Importance of a 90-Degree Angle
Taper candles are the most likely to drip because they are tall and thin. If a taper is leaning even slightly to the left or right, gravity will pull the liquid wax down the downhill side of the candle. To prevent this, you must ensure your candle holders are sitting on a completely flat surface and that the candle is pushed firmly and straight into the base. Even a 5-degree tilt can cause a steady stream of wax to run down the side. Using a small amount of stickum wax or a snug-fitting holder ensures your tapers stay perfectly vertical and drip-free.
|
Maintenance Task |
How Often? |
Benefit for Drip Prevention |
|
Wick Trimming |
Every lighting |
Controls flame size and heat output |
|
Wick Centering |
After every burn |
Prevents lopsided wall failure |
|
Hugging |
Every 2-3 hours |
Uses all wax and maintains walls |
|
Leveling Check |
Before lighting |
Ensures gravity doesn't pull wax down |
At Camp Hollow, we believe your home should be a place of wonder, not work. Every piece in our collection, from our slow-burning wax to our hand-painted porcelain, is designed to bring you the magic of nature without the mess.
The Material Choice: Why Beeswax is Naturally Drip-Resistant
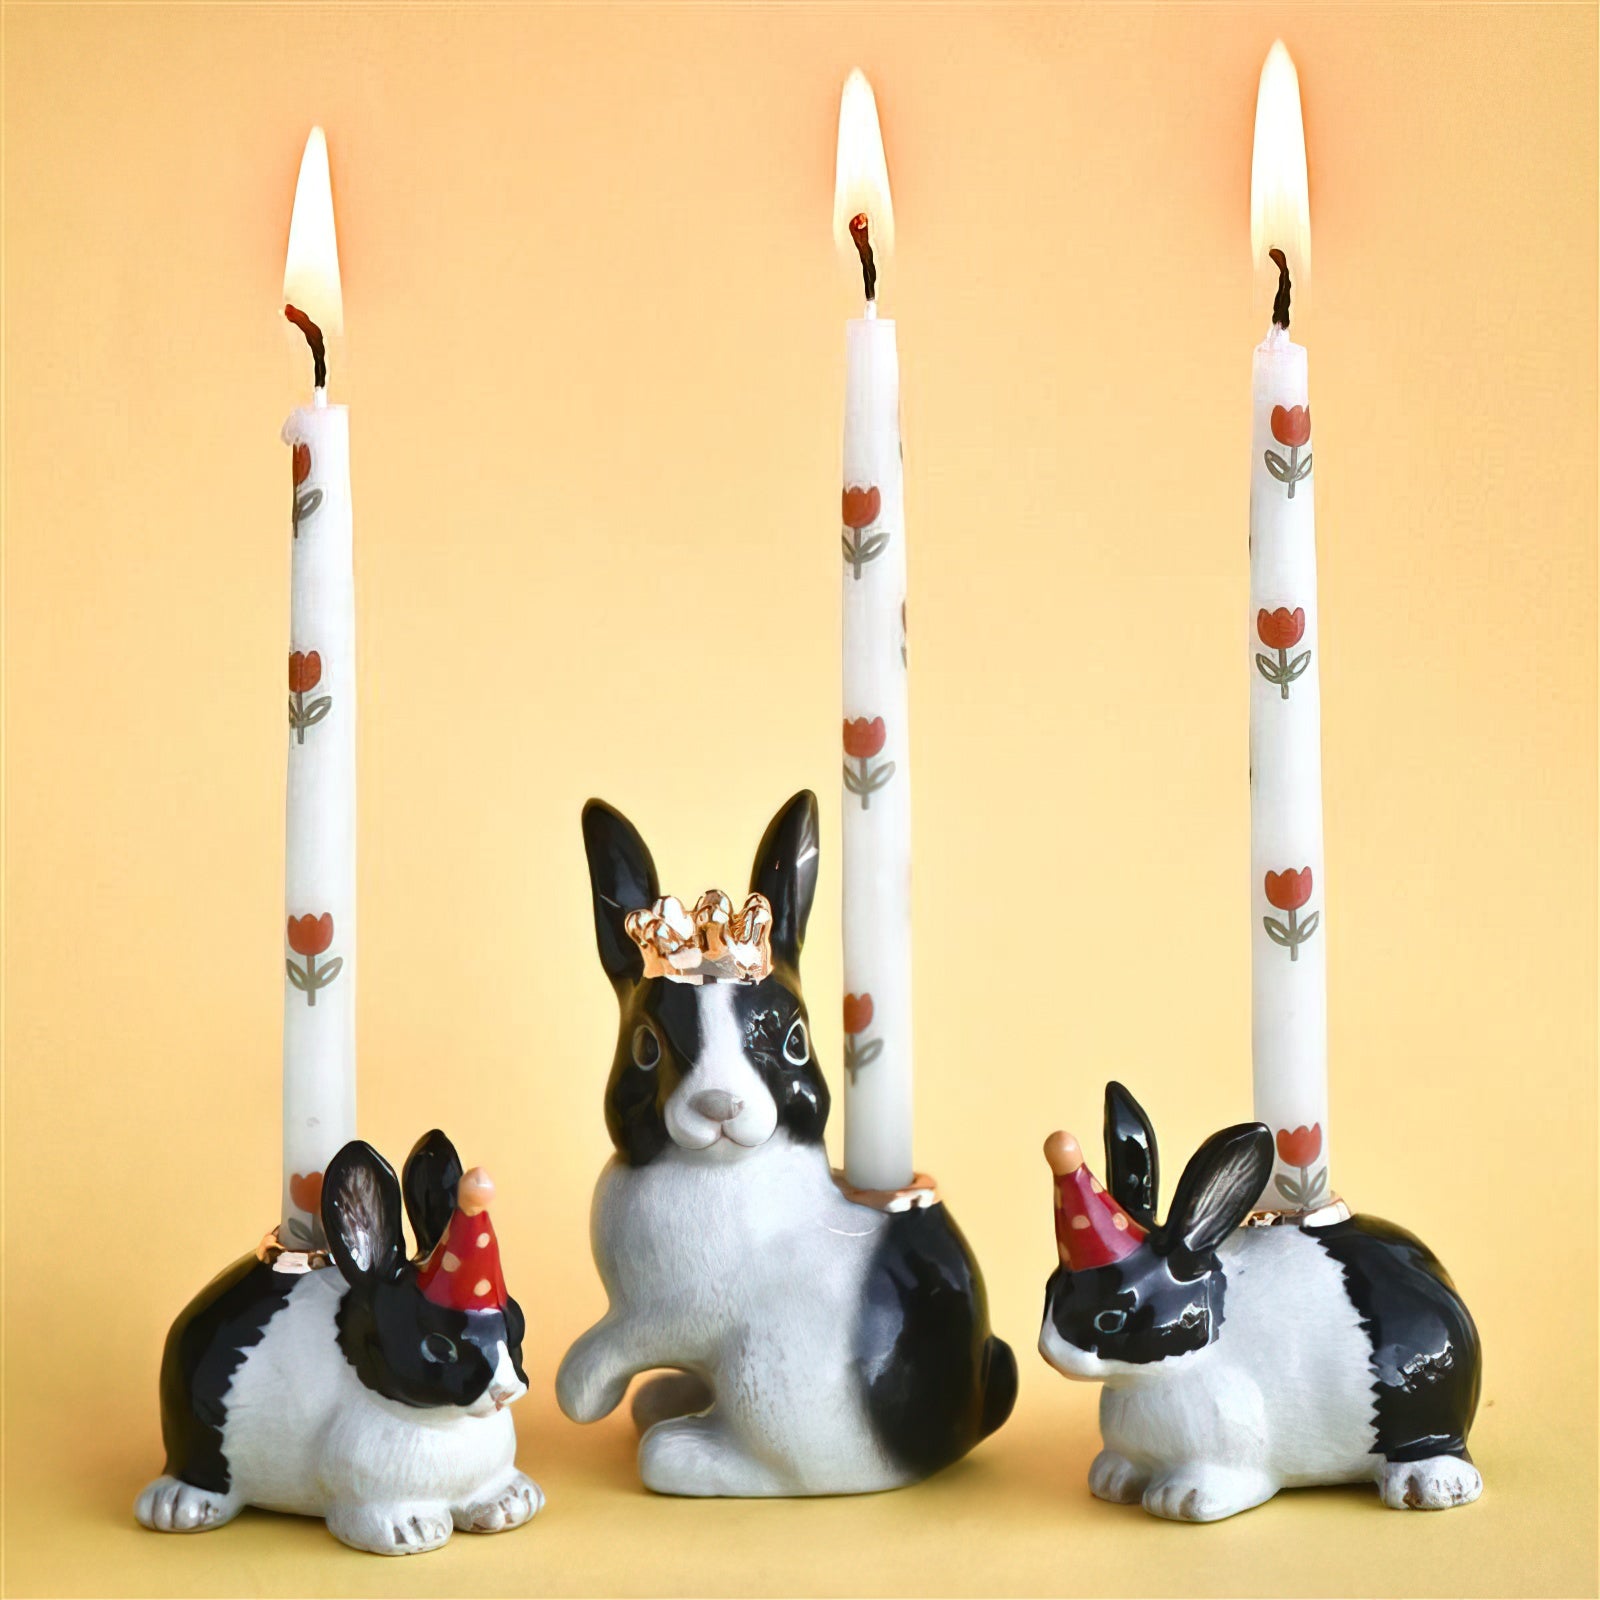
One of the most important reasons beeswax stays in its cup better than other materials is its high viscosity. Viscosity refers to how thick a liquid is. When paraffin wax melts, it becomes very thin and watery, which allows it to run through even the smallest cracks in the wax wall. Melted beeswax, however, is much thicker and has higher surface tension. This means it tends to bead up and stay put rather than running wild. At Camp Hollow, we choose 100% pure beeswax because this natural wax acts as a built-in safety net against spills and ruined furniture. A steady, level base is essential for preventing drips in tapers. Our animal cake toppers and holders provide the stability and charm needed for a perfect, upright burn.
Pure vs. Blends: The Marketing Trap
Many candles sold in the United States are labeled as Beeswax Blends. While this sounds good, these products often mix a small amount of beeswax with a large amount of paraffin or cheap soy. These additives lower the overall melting point of the candle and make the wax much thinner when it turns to liquid. If you are looking for a truly drip-resistant experience, you should avoid blends and look for the 100% Pure label. Pure beeswax is more chemically stable and predictable, which means you won't be surprised by a sudden collapse of the wax structure halfway through your evening.
Does Freezing Candles Really Stop Them from Dripping?
A common life hack you might see online is the idea that putting candles in the freezer will make them burn slower and stop them from dripping. While freezing a candle does make the wax denser and colder, the effect only lasts for the first few minutes of the burn. Once the flame heats up the wax, the temperature of the candle returns to normal. In fact, freezing can actually cause some waxes to crack or become brittle, which creates small fissures that cause drips later on. Instead of relying on the freezer, it is much more effective to focus on proper wick trimming and keeping the candle out of drafts.
The Proper Snuff: Preventing Hot Wax Splashes
How you put out your candle is just as important as how you light it. Many people give their candles a sharp, heavy blow to extinguish the flame. This sudden gust of air can actually blow the hot, liquid wax right out of the melt pool and onto your table. It can also cause the wick to smolder and spray tiny sparks of ash. Using a metal snuffer or a wick dipper is a much better way to end the burn. A snuffer gently cuts off the oxygen, and a dipper allows you to submerge the wick in the wax pool, putting the fire out instantly with zero splash and zero smoke.
Pre-Lighting and Storage Checklist
To ensure a perfect, mess-free burn every time, it helps to have a quick routine. Keeping your candles in good condition while they are not burning is the first step.
-
Store Flat: Always store taper candles laying flat in a cool, dark place. If they lean against a wall, they can warp over time, making them impossible to level.
-
Keep it Cool: Avoid storing candles in a hot attic or near a heater, as this can soften the wax and make it lose its drip-resistant shape.
-
The Pre-Light Check: Before you strike a match, check for drafts, trim the wick to 1/4 inch, and make sure the candle is sitting at a perfect 90-degree angle.
Final Thoughts: Enjoying the Glow Without the Mess
Dripping candles don't have to be a part of your life. By understanding that a clean burn is a combination of high-quality material and a little bit of care, you can enjoy the warm glow of candlelight with complete peace of mind. Investing in 100% pure beeswax from Camp Hollow is the best way to start, as the wax itself is designed by nature to be strong, dense, and clean. When you combine our artisanal wax with the hugging technique and proper wick care, you aren't just lighting a candle, you are creating a beautiful, mess-free experience that respects your home and your time.
-
Hypoallergenic Benefit: Because beeswax burns so cleanly and doesn't drip, it also doesn't release the sticky residue that can trap dust and allergens in your home.
-
Natural Aroma: Unlike paraffin, which needs synthetic chemicals to smell good, beeswax provides a soft honey scent that doesn't change even if the candle drips or melts.
-
Environmental Choice: Choosing beeswax over paraffin means you are avoiding oil-based products, making your drip-free home an eco-friendly one too.
Drip Prevention FAQ
1. Why does my dripless taper still drip?
Even a candle labeled dripless will drip if it is leaning or sitting in a draft. The label means the wax is high-quality, but it still needs a still-air environment to stay contained.
2. Can I fix a candle that has already started to drip?
Yes. Extinguish the flame, let the wax harden, and then carefully trim away the bridge where the wax escaped. Re-center the wick and make sure the candle is level before lighting it again.
3. Is it okay to use a candle that has a cracked edge?
If the outer rim of a pillar candle is cracked, the liquid wax will definitely leak through. You can often repair small cracks by gently warming the wax with a hair dryer and smoothing it over with your finger.
4. Does the size of the wick really matter that much?
It is the most important factor. A wick that is too thick or too long will always cause a candle to drip, regardless of how expensive the wax is.
5. How do I get wax off my tablecloth if it does drip?
Place a brown paper bag or a paper towel over the dried wax and run a warm iron over it. The paper will absorb the wax as it melts, leaving your fabric clean.


Coming August 4th: Meet the Possum Cake Topper – Our Cutest Creature Yet!
🐾 Coming August 4th: The Possum Cake Topper Is Almost Here!
LIVE 4th AUGUST 2025...

NEW PRODUCT ALERT: The Canadian Goose Cake Topper🪿
LIVE 13th MAY 2024

"Lighting the Way to Joyful Memories: The Timeless Legacy of Camp Hollow Ceramic Keepsakes


The Power of Tradition: Why Camp Hollow Cake Toppers are the Perfect way to Start to a New Family Tradition


The Origins of the Piggy Bank: Why we put our money in Porcelain pigs!
Piggy banks are a strange tradition that is found in many cultures across the world.
Piggy Banks are often...